
In a world where fingers are constantly typing and thumbs are overworked, voice memos on the iPhone offer a refreshing escape. Imagine capturing your brilliant ideas, grocery lists, or even that hilarious joke you just heard—all without breaking a sweat. It’s like having a personal assistant who never forgets a thing and doesn’t charge by the hour!
Whether you’re a busy professional, a student juggling deadlines, or just someone who can’t remember where they left their keys, mastering voice memos can be a game changer. This handy feature transforms your iPhone into a recording studio, ready to catch every fleeting thought. So, let’s dive into the world of voice memos and unlock the full potential of your iPhone—because who wouldn’t want to sound like a genius while multitasking?
Understanding Voice Memos on iPhone
Voice memos on iPhone serve as a user-friendly tool for recording and storing audio clips. This feature allows users to capture thoughts and ideas quickly and easily. Busy professionals and students find voice memos valuable for enhancing productivity.
Creating a voice memo takes just a few taps. Users launch the Voice Memos app, tap the red record button, and start speaking. This straightforward process ensures that no important information gets lost.
Playback is equally simple. Users can select a memo from the list and tap play to listen to their recordings. Voice memos can also be edited, enabling users to trim audio clips for better clarity.
Sharing recorded memos expands their utility. Users can share via email, messages, or cloud services, making collaboration seamless. This aspect proves particularly beneficial for those working on group projects or seeking feedback.
Voice memos also integrate with other iPhone features. Saved recordings sync with iCloud, allowing access across devices. This capability means users can retrieve their thoughts on an iPad or MacBook anytime.
Managing voice memos is efficient. Users can rename recordings with descriptive titles, making it easier to locate specific clips later. Organizing memos into folders helps streamline the recording library.
By understanding these functions, users can fully leverage voice memos and transform their iPhone into a powerful recording device.
Getting Started with Voice Memos
Voice memos offer an efficient way to capture thoughts and ideas quickly on an iPhone. Users can easily access this feature by following a few simple steps.
Accessing the Voice Memos App
Finding the Voice Memos app takes only seconds. Look for the app on the home screen, represented by a red icon with a microphone. If it’s not visible, swipe down on the home screen to access the search function. Typing “Voice Memos” displays the app instantly, allowing for quick access. Users can also download the app from the App Store if it’s not pre-installed on the device.
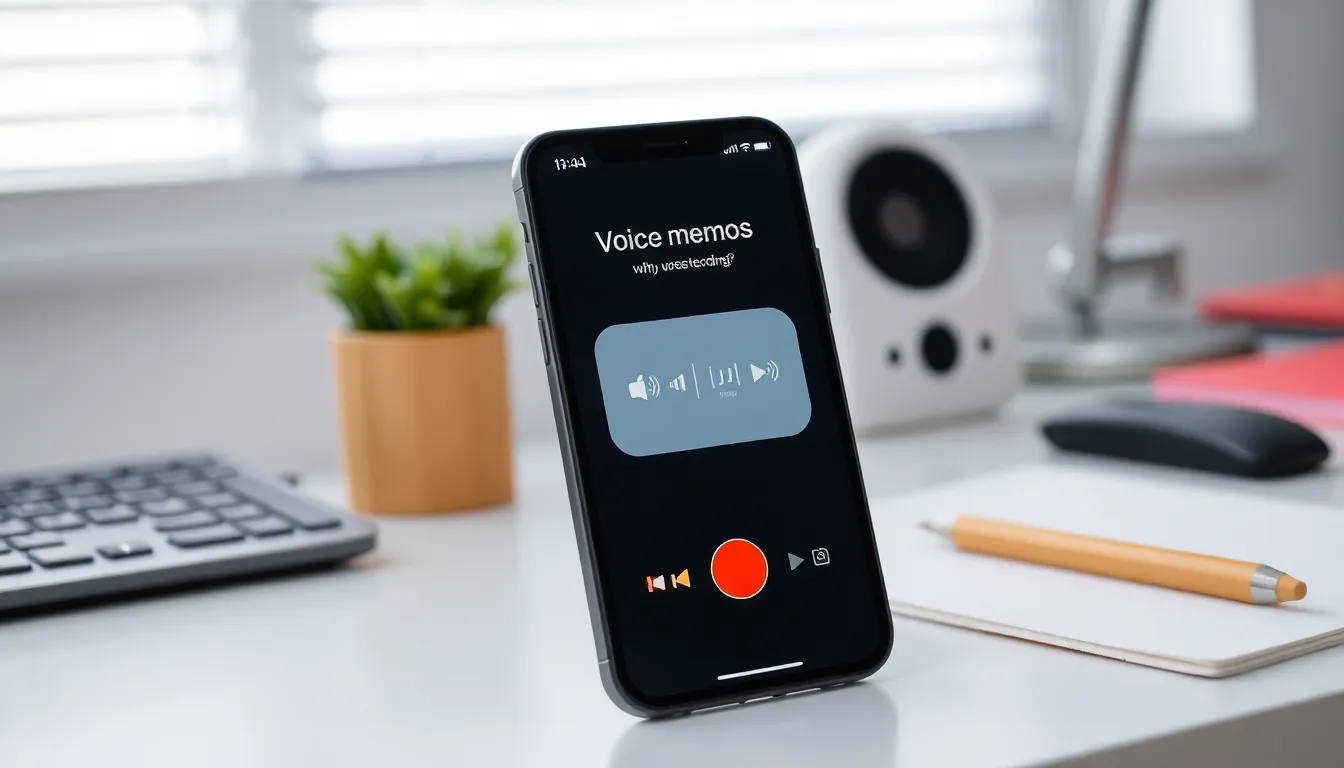
Navigating the Interface
Understanding the interface makes recording effortless. The main screen displays a large red record button for immediate audio capture. Tapping this button begins the recording, while a second tap stops it. Recorded memos appear in a list format, showing title and duration for easy organization. Swiping left reveals options for renaming or deleting recordings. Users can listen by simply tapping on a memo, enhancing the overall experience.
Recording Voice Memos
Voice memos offer a quick way to capture thoughts and ideas on an iPhone. Recording a memo is straightforward, ensuring users can focus on their tasks without interruptions.
How to Start a New Recording
First, locate the Voice Memos app on your iPhone. Tapping the app opens the intuitive interface. Press the large red record button to start capturing audio immediately. Users can stop the recording by pressing the same button again. Upon stopping, the memo saves automatically in a list format for easy access. Anyone can rename the recording for better organization by tapping on the title. Listeners can start playback by simply tapping on the desired memo, making it easy to review recordings.
Tips for High-Quality Recordings
To achieve optimal sound quality, select a quiet environment before recording. Position the iPhone close to your mouth without obstructing the microphone, ensuring clear audio capture. Speaking at a moderate pace enhances intelligibility. Avoid background noise to reduce distractions during playback. Reviewing recordings immediately after making them helps catch any issues early. Users should also utilize the audio editing features, trimming or enhancing recordings as needed. By following these tips, recordings maintain clarity and professionalism, enhancing overall productivity.
Editing and Organizing Voice Memos
Editing voice memos enhances their usefulness. Users can streamline their recordings and make important information clearer.
Trimming and Deleting Recordings
Trimming recordings helps refine the content. Users can cut unnecessary sections by selecting the part of the audio to remove. Access the trimming feature by tapping the memo, then the three dots. This process allows the user to listen and decide which portions are irrelevant. Deleting recordings is just as simple. A swipe left on the memo reveals the delete option, enabling quick removal. This functionality helps keep the collection organized and relevant.
Adding Notes or Labels
Adding notes or labels helps further categorize the memos. Users can tap on a recording, then select “Edit Recording” to access the notes section. Descriptions add context, making it easier to search later. Using clear labels improves the organization of recorded thoughts and ideas. This method ensures efficient navigation through various memos. Users benefit from a well-structured collection that facilitates quicker retrieval and reference.
Sharing Your Voice Memos
Sharing voice memos offers a fast and seamless way to communicate ideas. Users can easily send recordings through various channels.
Sending via Email and Messaging Apps
To send a voice memo via email, tap the memo in the Voice Memos app, select the share icon, then choose the Mail option. An email draft pops up with the recording attached, ready to send. When using messaging apps, select the desired app from the share sheet. Text messages allow for quick sharing, especially for informal exchanges. These methods facilitate collaboration, making it easy for recipients to access the content.
Uploading to Cloud Services
Cloud services provide a convenient alternative for storing and sharing voice memos. Users can upload recordings to platforms like Google Drive or Dropbox by selecting the share icon and choosing the respective app. Accessing the memo becomes straightforward for anyone with a shared link. These services also allow for long-term storage, reducing the risk of losing important recordings. Uploading clips not only keeps them secure but also simplifies retrieval across devices.
Voice memos on the iPhone offer a practical solution for capturing thoughts and ideas effortlessly. By leveraging this feature, users can enhance their productivity and ensure they never miss important information. The intuitive design of the Voice Memos app makes it easy to record, edit, and organize audio clips.
With the ability to share recordings seamlessly, collaboration becomes simpler and more efficient. Whether for personal use or professional projects, mastering voice memos can transform how users manage their tasks and communicate. Embracing this tool allows for a more organized and productive lifestyle, making it an invaluable asset for anyone looking to streamline their workflow.